Showing posts with label YUM. Show all posts

Sunday, February 2, 2014

Most amazing carrot cake!

This is the carrot cake recipe that my family has been making for year! Most of the family friends know about it and remember it because it is that good. I decided to share with you all!

You don't want to make this very often because it is not that healthy carrot cake, but it is delicious. Save it for special occasions. I most recently made it for a work pot luck. It is perfectly moist and delicious. I am a HUGE cream cheese frosting fan as well and this has crushed pineapple in the frosting. Oh so yummy!

Carrot Cake Ingredients:
1-3⁄4 cup canola oil
2 cups sugar
3 eggs
1 tsp vanilla
2 cups flour
1 tsp baking soda
1⁄2 tsp salt
2 tsp cinnamon
2 cups shredded carrots
1⁄2 cup crushed pineapple

Frosting Ingredients:
1 – 8 oz pkg cream cheese (softened)
3 cups powdered sugar
1⁄4 cup crushed pineapple

Directions:
1. Pre-heat oven to 350
2. Grease and flour 9x12 pan. Mix oil, sugar, eggs and vanilla. Add in flour, baking soda, salt and cinnamon. Add carrots and pineapple.
3. Pour in pan and bake 35-40 minutes.
4. Mix all ingredients for cream cheese frosting.
5. Cool and frost with cream cheese frosting.

I forgot to take a picture of the whole cake, so here is a picture of one left over piece. Enjoy!
~Court

Thursday, July 11, 2013

Glorious Summer Fruit {and the things you can do with it}

I don't know about you, but I love fruit and especially during the summer time when the farmers markets are going on, fruit costs less and you can pick your own berries!

Nick and I went to the Owasso Christmas Tree and Berry Farm two weekends ago to pick scrumptious blueberries and blackberries. Berry picking is a bit dangerous because you just keep picking and picking and picking, then you have to go pay for it and before you know it you are spending $40 on berries (maybe we did that?!?!). They might still have some berries if you head out this weekend, but I would call ahead to be sure. Here is their website : http://www.owassotreefarm.com/blackberry.html

Here is what we ended up with. A lot, I know. But we have put it all to good use and none of the berries went bad. Woo hoo!

Here is a list of what I have done with the berries:
- Froze 2 small bags of blackberries
- Made 5 jars of blackberry jam
- Several fruit and yogurt parfaits
- Banana blueberry pancakes
- Banana blueberry bread
- Blackberries on top of ice cream
- Blueberry dumplings (this is a Paula Dean dessert and absolutely amazing, Recipe Here)

If you are interested in canning and want to try making your own jam, just go for it!! I was very intimated and not quite sure if it would work, but it turned out great. We will have blackberry jam all year, unless we decide to share some.

Here is the recipe I used to make the jam - Blackberry Jam The only change I would make is less sugar because our blackberries were ripe and super sweet. If you use frozen berries, you might want all the sugar. Next time I will reduce by about 1 to 1.5 cups.

If you have never canned before, I found this set of directions very helpful. Intro to Canning PDF!

Here are some of the pictures from my canning experience.

I hope to can tomatoes this year.

Lastly, I would like to share my favorite Banana Bread Recipe. It is seriously awesome and I guess it is considered a low-fat recipe, but I would never have guessed it. I had friends over a few weeks ago and realized I was missing an ingredients to make this banana bread, so I tried a different recipe and it was not near as good. Bummer...should have gone to the store. Oh well.


It is a betty crocker recipe in my good ole cookbook. This recipe book has all sorts of great information for cooking and baking. I use it as a reference tool ALL the time! Here is the recipe.


Makes 2 Loaves

Ingredients:
1 1/4 Cups Sugar
1/2 cup butter, softened
2 large eggs
1 1/2 cups mashed very ripe bananas (3 medium)
1 tsp vanilla
dash of cinnamon (this is my addition)
2 1/2 cups all-purpose flour
1 tsp baking soda
1 tsp salt
1 cup of chopped nuts, if desired (I omitted nuts and added fresh blueberries instead)

  1. Move oven rack to low position so that tops of pans will be in center of oven. Heat oven to 350 degrees. Grease bottoms only of two 8x4 inch pans or one 9x5 loaf pan with shortening or cooking spray. 
  2. In large bowl, stir sugar and butter until well mixed. Stir in eggs until well mixed. Stir in bananas, buttermilk and vanilla; beat with spoon until smooth. Stir in flour, baking soda, cinnamon and salt just until moistened. Stir in nuts or blueberries. Divide batter evenly between 8-inch pans or pour into 9-inch pan. 
  3. Bake 8-inch loaves about 1 hour (I checked mine at 40 minutes and they were done, so start checking early). 9-inch loaf pan could take 15 minutes longer. Check with toothpick to see if it comes out clean. Cool 10 minutes in pans on wire rack. 
  4. Loosen sides of loaves from pans; remove from pans and place top side up on wire rack. Cool completely, about 2 hours, before slicing. Wrap tightly and store at room temperature up to 4 days, or refrigerate up to 10 days. 


We kept 1 loaf out and froze the 2nd loaf to enjoy later. :)

Hope you enjoy!
-Court


Tuesday, May 28, 2013

back at it ~ the lake and peach cobbler


Woo hoo! It's boat time again and I am soo happy! I love spending our weekends on the lake. 
Memorial Day for our first day out this year and it was wonderful. A little too windy to go out on the main part of the lake, but we hunkered down in a beautiful cove and relaxed with some friends.


The bad thing was that I thought SPF 15 sunscreen would be enough to keep me protected from the sun's rays on our first trip of the year. Not so much! I even re-applied sunscreen, but I am a bit pink. Ok a lot pink!
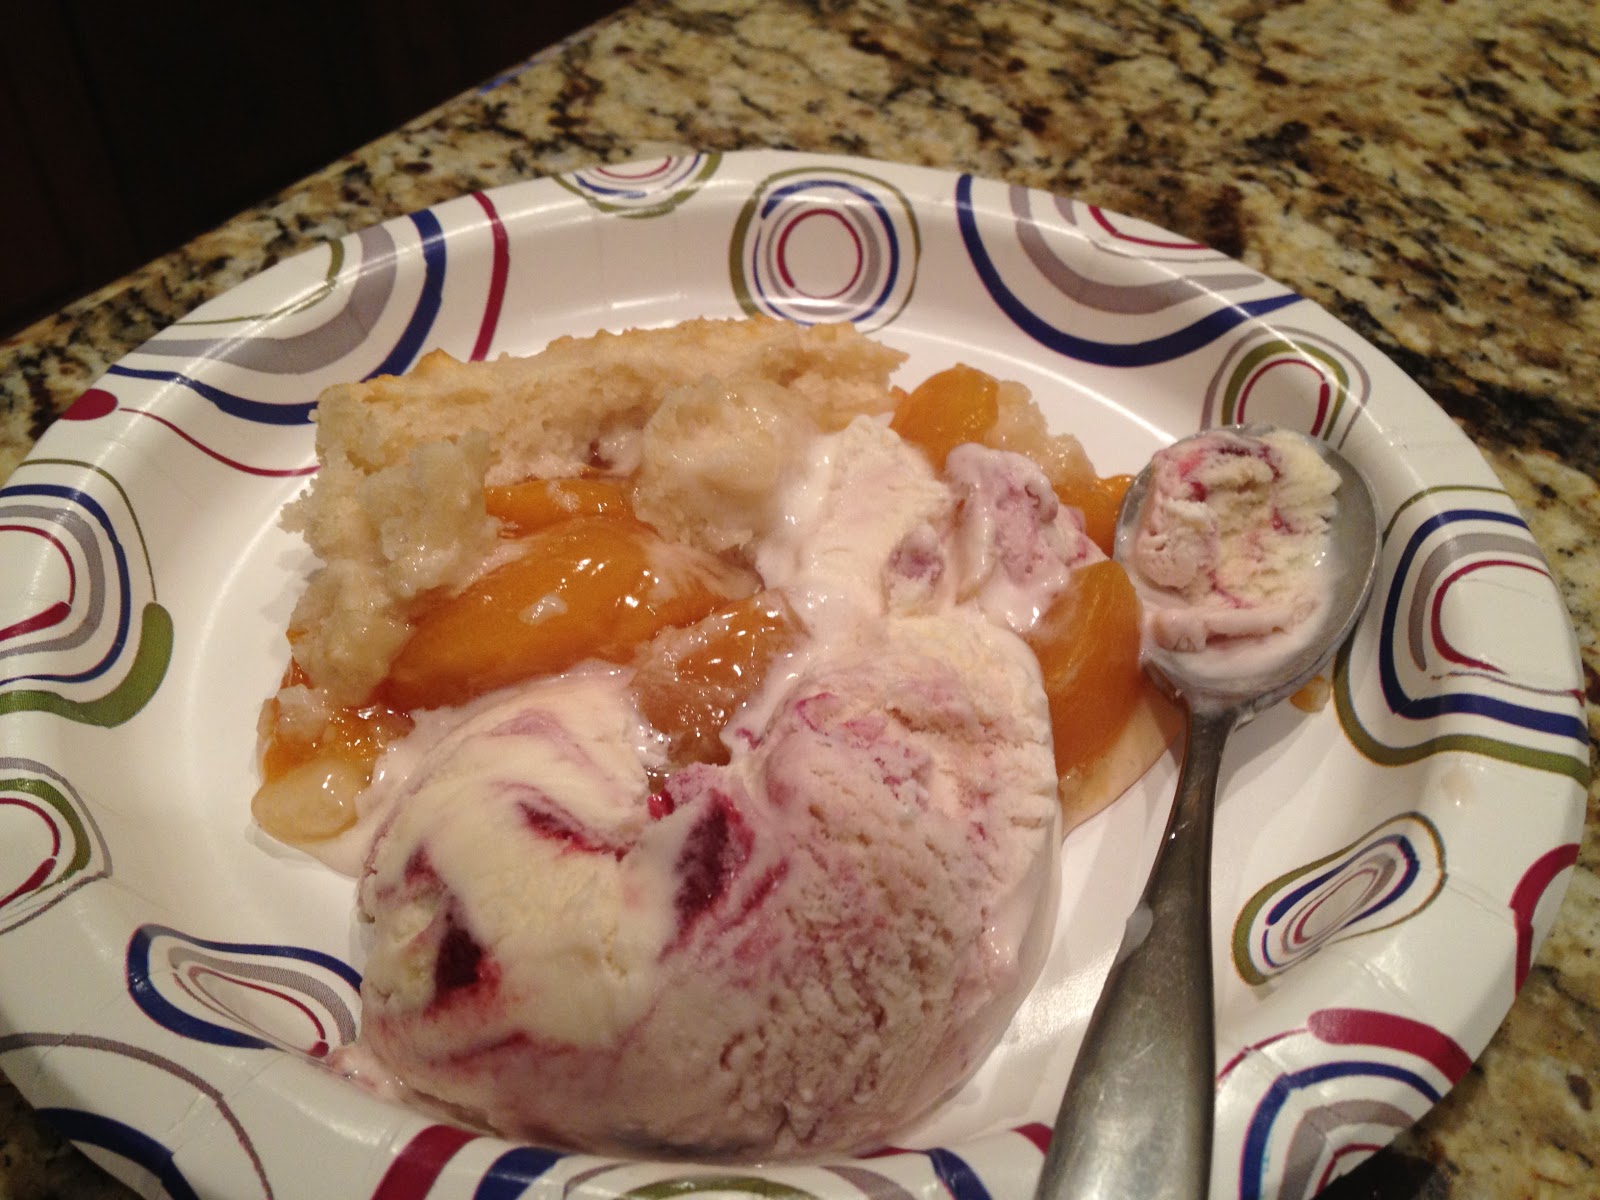
We ended the day with a yummy bbq meal and peach cobbler. 

Easy Peach Cobbler

2 - 16 oz ramekins

1 can - Peach Pie Filling (18 oz can)

Biscuit topping--
1 cup flour
1/4 cup sugar
1 1/2 tsp baking powder
1/2 tsp salt
3 Tbl shortening
1/2 cup milk

Wrap a cookie sheet in foil. Split the peach pie filling between the two ramekins. Preheat over to 350 degrees. Mix all dry ingredients together and cut in the shortening with a fork. Keep cutting intul the shortening is in small bits. Add the milk and stir just until the mixture is moist. Use two spoons, drop biscuit  dough balls over the peaches until the top is covered. (This will make extra dough, I made 1 biscuit on its one.) Place ramekins on foiled covered cookie seer and bake at 350 for 22-25 minutes. If you have extra to make a biscuit, it will cook in a lot less time than the cobblers. 


Serve with ice cream. I had blackberry ice cream with this…super YUM!

These were yummy and HUGE. I only ate half of mine.  And I forgot to take a picture before we started digging in. I left ours a little doughy, because that is the way my hubs likes it and I like to keep him happy!


I am still searching for the perfect shortbread cookie type crust for cobblers, but in the mean time, this was great!

Saturday, November 3, 2012

College Football and Mississippi Mud Fudge Pie

Last weekend my Mom, Ron and Chloe came to visit us and we went to the OSU-TCU game in Stillwater. We had a great time! We tailgated, ate some yummy food, made new friends who brewed their own yummy beer and watched the game. Mom and Ron are TCU fans, as you can see in this picture. I need to get some more OSU gear, I had a Go Pokes scarf, but it got warm in the sun so I looked very neutral...


One of the fun things that my mom did for my sister and I last Christmas was get us each a subscription to Southern Living Magazine. Which is my favorite. It's fun to get it each month, drool over the home decor and recipes, then talk about it with each other. So about two weeks ago my mom was saying how she wanted to make one of the Mississippi Madness recipes in the Fall issue of Southern Living. Since they were coming to town, I decided it was a great time to try out the Mississippi Mud S'Mores Fudge Pie.

It was amazing and probably one of my favorite desserts, I'm craving some right now. It was sweet but a little salty with the graham cracker and butter crust. So delicious! I had also just bought a spring-form pan on clearance at TJ Maxx (Only $5—yeah!), so it was perfect timing to break it in with this recipe!


So here is the recipe —
Ingredients:
2 cups grapham cracker crumbs
1/2 cup butter melted
2 1/4 cups sugar, divided
1 1/2 cups coarsely chopped pecans, toasted and divided
1 (4oz) semisweet chocolate baking bar, chopped
1 cup butter
1 1/2 cups all-purpose flour
1/2 cup unsweetened cocoa
4 large eggs
1 tsp. vanilla
3/4 tsp salt
3 cups regular marshmallows, cut in half horizontally
2 cups miniature marshmallows
Chocolate Frosting (recipe at the end)
1. Stir together first 2 ingredients and 1/4 cup sugar; press on bottom and 2 inched up sides of a shiny 9-inch spring-form pan. Sprinkle 3/4 cups pecans over crust.
2. Microwave chopped chocolate and 1 cup of butter in a large microwave safe bowl at HIGH 1 minute or until melted and smooth, stirring at 30-second intervals.
3. Whisk flour, next 4 ingredients, and remaining 2 cups sugar into chocolate mixture, whisking until blended. Pour batter into prepared crust.
4. Bake at 350 degrees for 1 hour to 1 hour and 15 minutes (I start check at 45 minutes) or until a wooden pick inserted in the center comes out with a few moist crumbs. Remove from oven cool on  pan on a wire rack for 20 minutes
5. Preheat Broiler with oven rack on lowest level from heat. Place pie  (in pan) on a jelly roll pan. Toss together both marshmallows' mound on pie, leaving a 12 inch border around the edge. Broil 30 seconds to 1 minute or until marshmallows are golden brown. Remove from oven,and immediately remove sides of pan. Cool on a wire rack 10 minutes.
6. Meanwhile, prepare Chocolate frosting. Drizzle over marshmallows; sprinkle with remaining 3/4 cup pecans.
Chocolate Frosting
Cook  1/4 cup butter, 3 Tbsp unsweetened cocoa, and 3 Tbsp of milk in a saucepan over medium heat, whisking constantly, 4 minutes or until slightly thickened; remove from heat. Whisk in 2 cups of powdered sugar and 1/2 tsp vanilla extract until smooth.
The Final Product. Enjoy!
-Court

Friday, September 28, 2012

Mexican Beef - AMAZING!

This recipe is so great that it deserves a post of it's own. Yes, its that good.

What you will need:
Crock Pot
Rump Roast or Chuck Roast - Desired Weight – I usually grab a 3lb. For more than 5 people, you will want a bigger one.
Cumin, Paprika, Chili Powder, Cayenne Pepper, Salt, Pepper (to rub down the meat)
Taco Seasoning 1 pkg or 1/4 cup
Small Can of Salsa or about 1 cup
Small Onion Chopped
Beef Broth 2 Cups
Chipotle Peppers in Adobo Sauce (must have!)
2 Tbsp or so of Olive Oil

First, rub down the meat with the seasonings listed (not the taco seasoning). Heat olive oil in a pan and brown the roast on all sides.

A note about Chipotle Peppers in Adobo Sauce - these things bring the heat!!! If you are not big on spicy food, only use 1.5 peppers and be sure to chop really small. I typically use 2 peppers, then I add some of the sauce that is in the can. Just make sure to be careful, the first time I made it with 3 peppers it turned out too spicy and I like spicy.

Spray the crock pot with some pam, then put in the beef broth, salsa, chopped onion, taco seasoning and chipotle peppers. Put the roast in the liquid and put a little liquid on top. Cook at 5 hours on low.
DELICIOUS!

Now that you have the meat, you can do all sorts of stuff with it. 
Tacos
Enchiladas
Tostadas
Quesadillas
Burritos
Salads
Nachos
You get the idea.

We decided to have tacos the first night and tostadas the second night with leftovers.

Tostadas were awesome. Evidence includes this photo here, just to show how awesome the tostadas really were.


Nick came up with the fantastic idea to make our own tostada shell things. We used store bought tortillas and this turned out amazing. All you have to do is preheat the oven to 400 degrees, brush both sides of the tortilla will peanut oil (or other oil, Nick likes peanut oil for things like this) then sprinkle with salt and chili powder. Bake 4 minutes on each side on a cookie sheet. Watch them, they may cook quicker.

Top the toasted tortilla with beans, mexican beef, cheese, lettuce, tomatoes, salsa, sour cream and whatever else you want.

Enjoy!

~ Court